
Setting up a Red Tag System
As a company manufacturing a wide range of components, we have lots of different types of tooling in our factory. But we don’t want unnecessary tooling crowding our work space as this just leads to waste. The same goes for the components we make. Like all companies, we occasionally get parts that are not quite right and are rejected during our quality control processes. A lot of these can be reworked so we don’t want to throw them away. But how do we manage this so that we don’t have rejected parts piling up over time and tooling that ‘might get used for something in the future’ taking over? That is where setting up a red tag system will help.
What is a Red Tag System?
A Red Tag System is a really quick and easy way of highlighting what needs to be removed from our work stations. We set up a designated red tag area for these items when we had our big 3s sort out at the start of the year. From then, any items which we removed were tagged and given an expiration date that, if they have not been reworked or rehomed by, were to be scrapped (or in the case of expensive tooling, put away into storage). But although we started out with good intentions, we found that we were not managing it effectively. 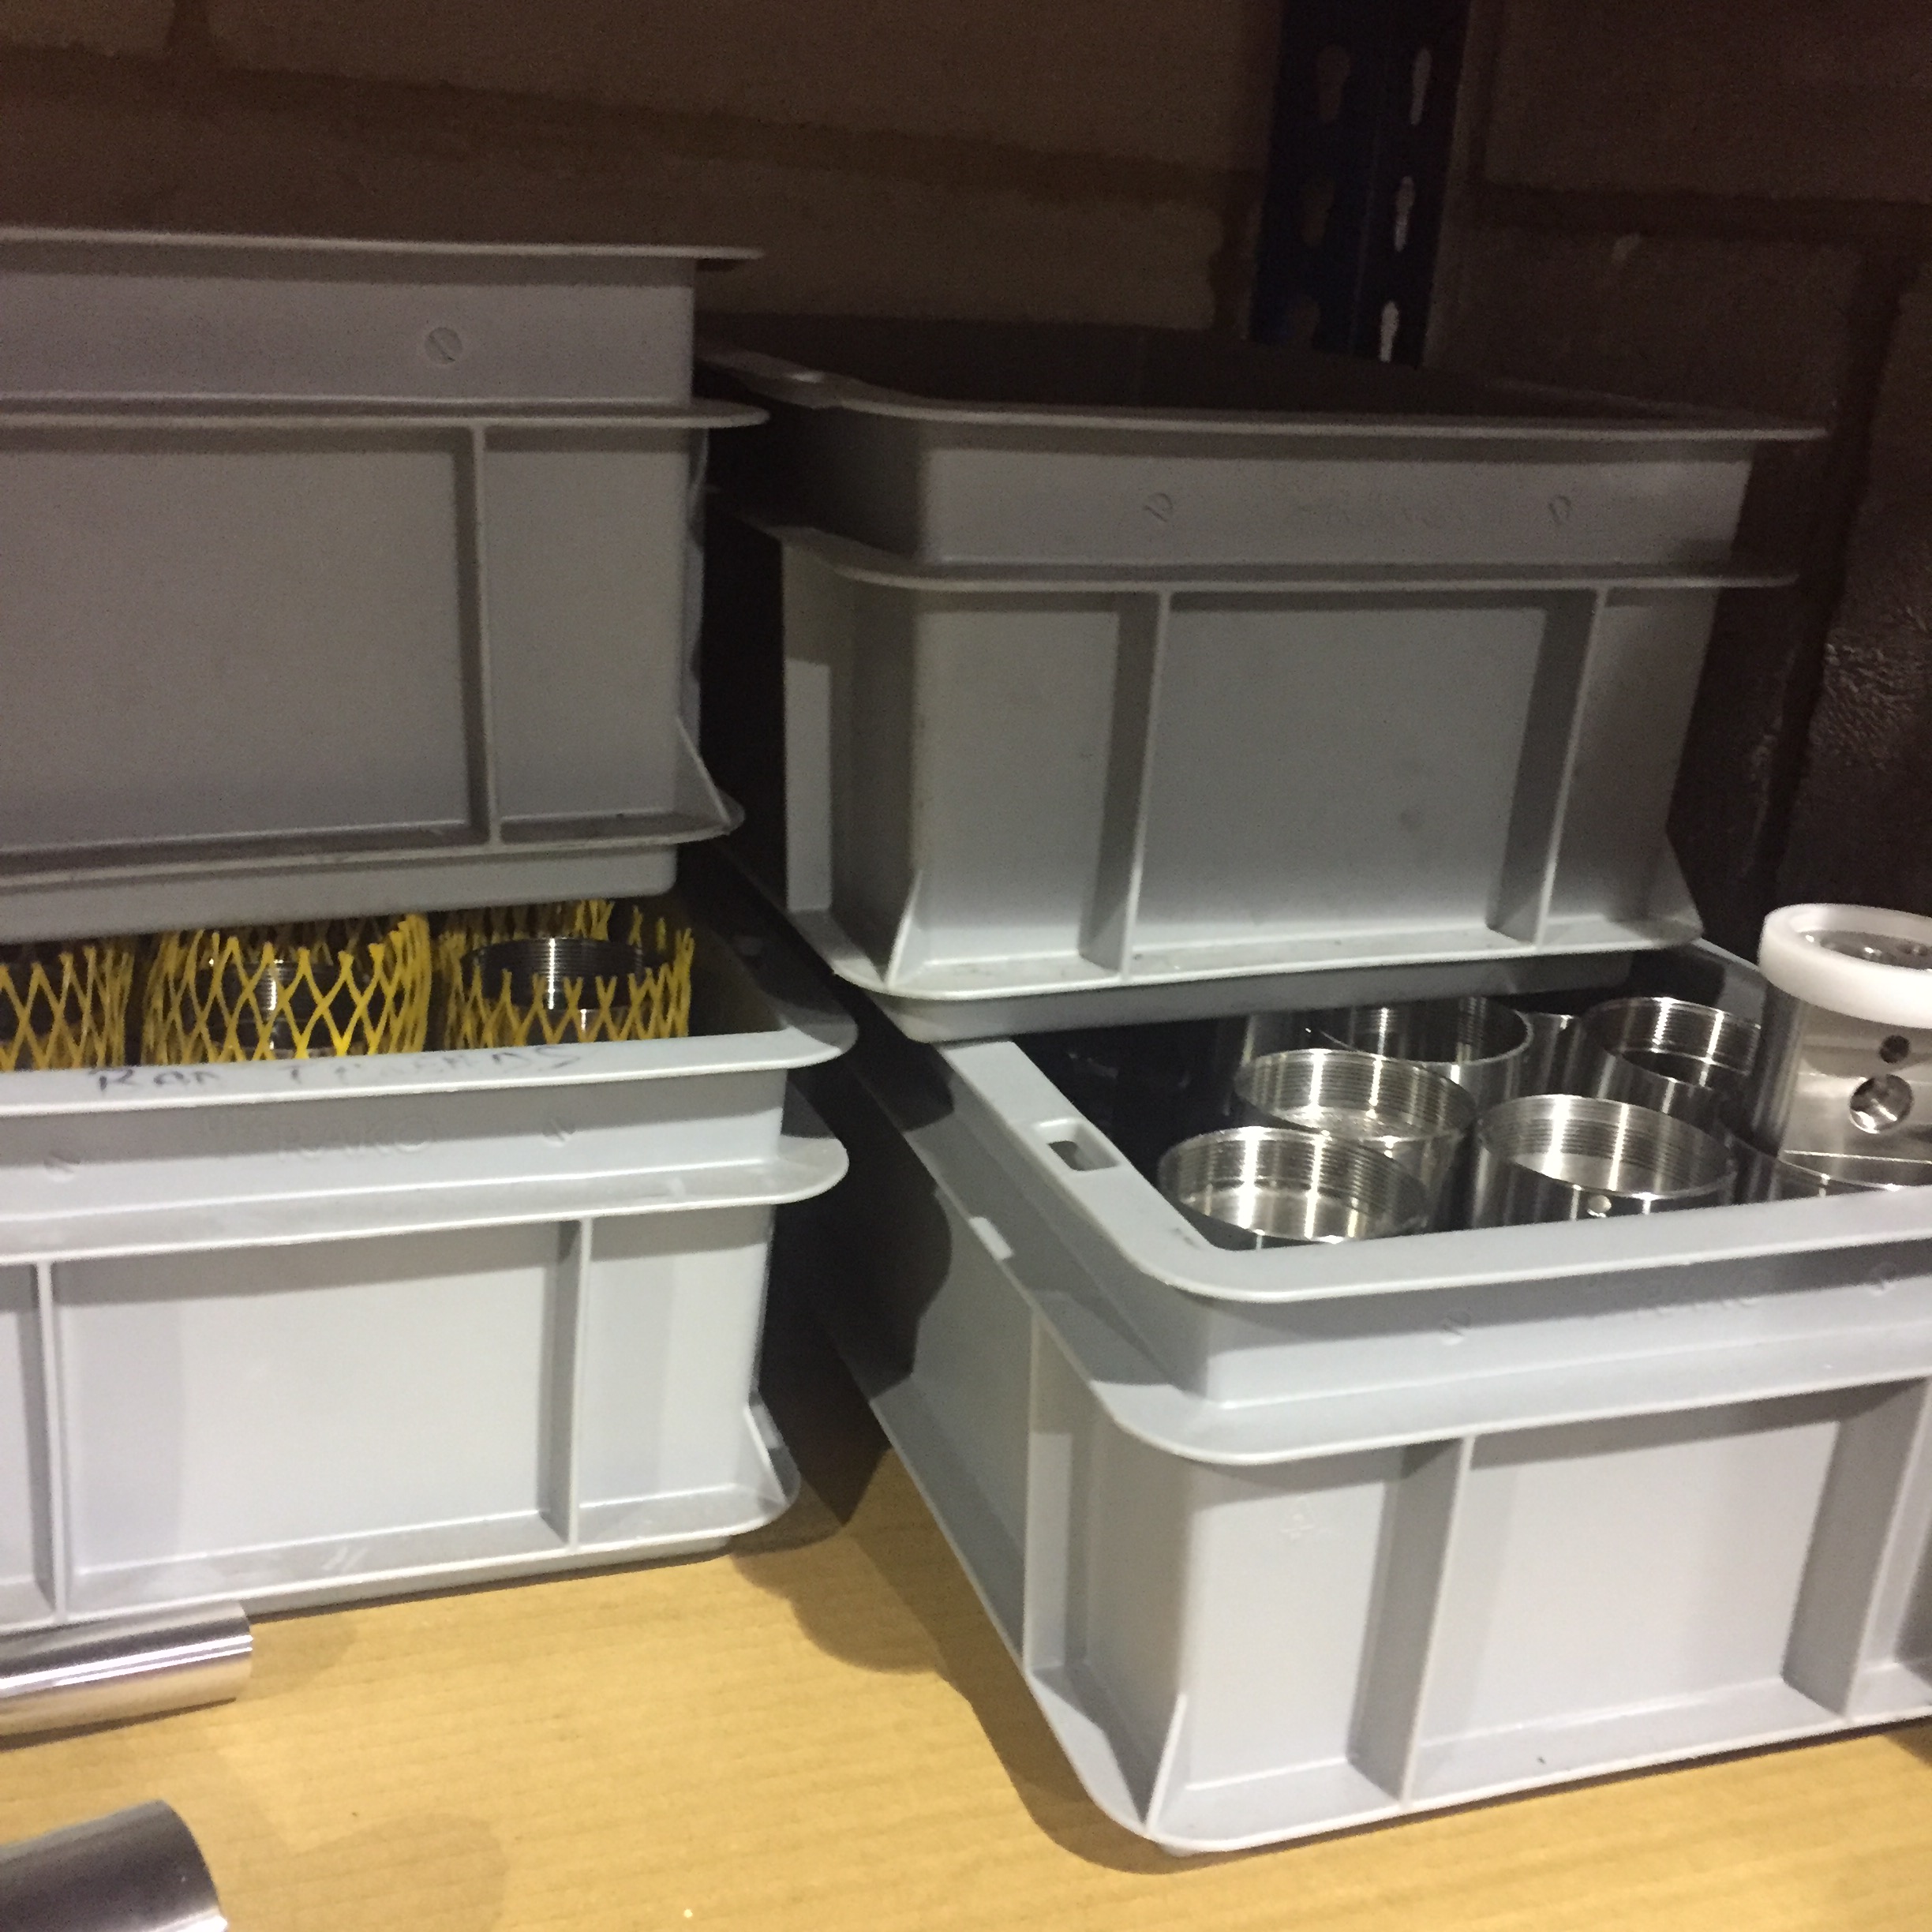 Because the items were out of sight, they got forgotten about. So instead of parts piling up on our benches, they were piling up in our red tag area! It got so that tags were falling off and getting mixed up. Some parts were even making it into our red tag area without a tag on! So no one knew why parts were there and a lot of time was wasted with re-inspection and re-tagging. Not very Lean!
How are we managing our Red Tag System effectively now?
Everyone agreed that something had to be done to resolve our red tag issues! We handed this task over to one of our staff members, Lynda, who was itching to sort it out and had some ideas about how we could manage it effectively. Now we have a much better system in place which has been working well for us so far.
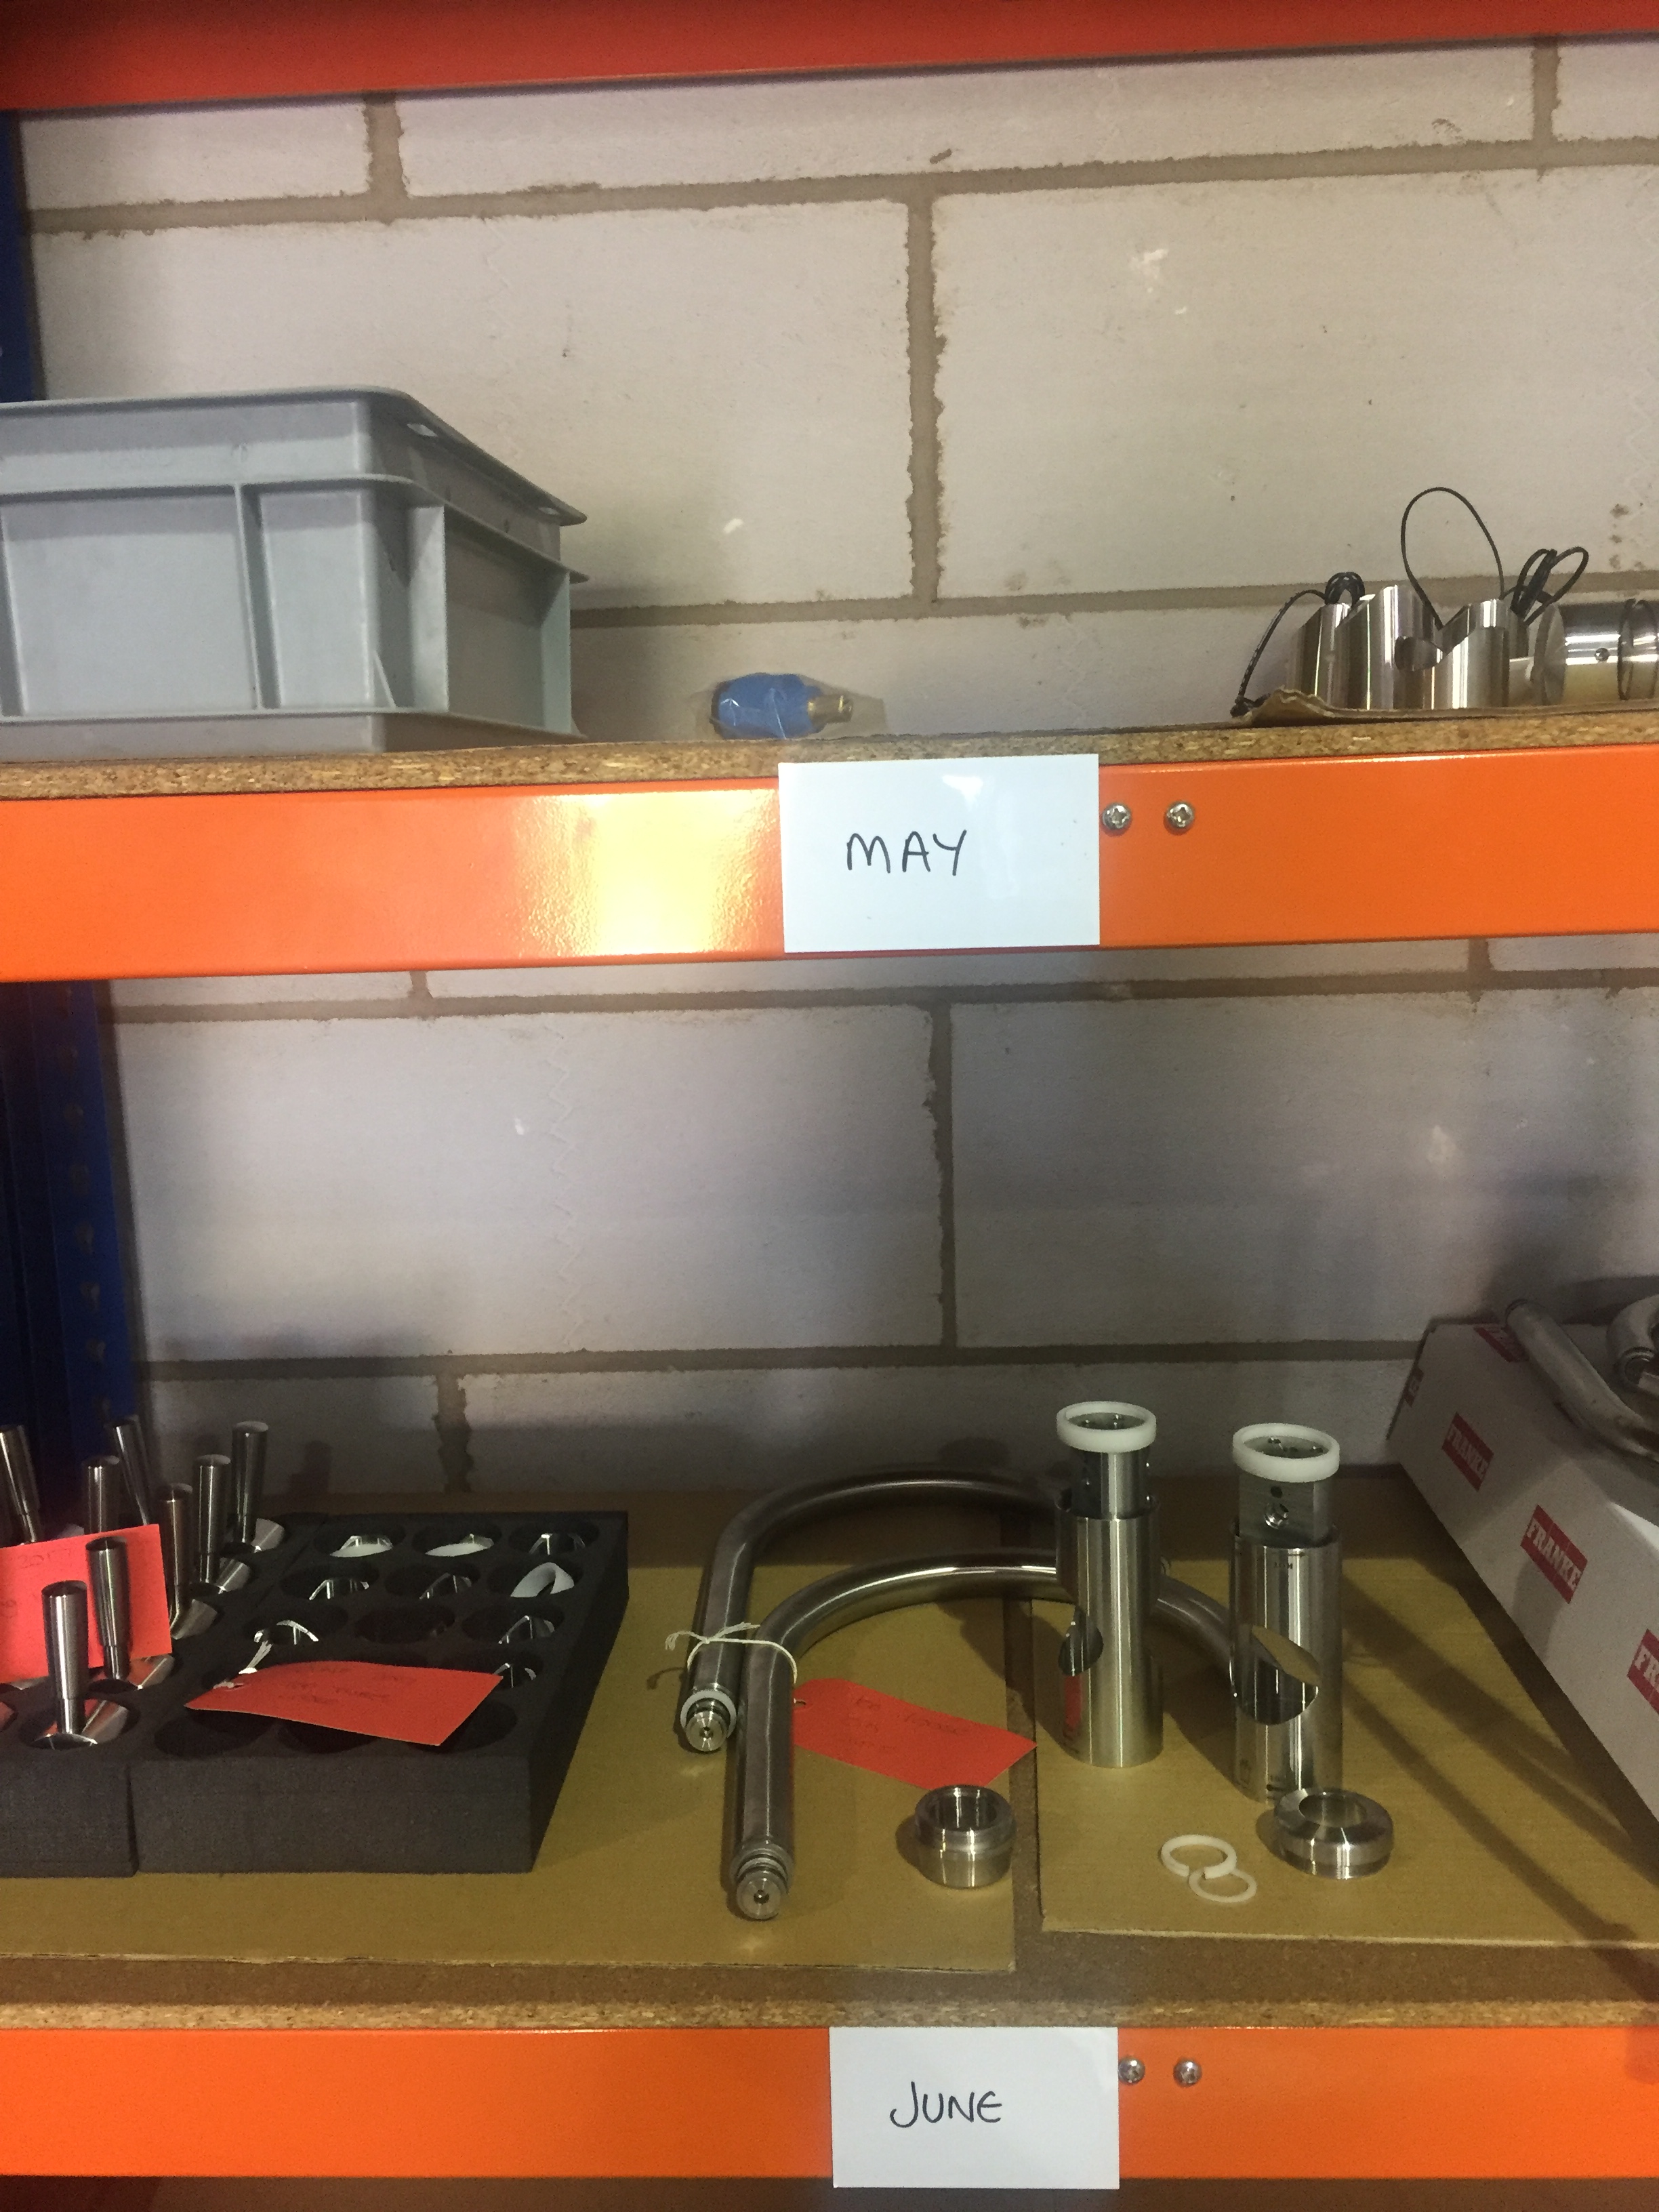 We decided that three months would be long enough for parts to wait for either reworking, scrapping or storage. Therefore, our red tag area has been divided up over three shelves. Each shelf has a dry wipe magnetic label underneath with a month written on it. We started in May and underneath we have June and July. Any red tag items that are rejected during a particular month go on the relevant shelf. And August..? Well, we’ll revisit the earliest month’s shelf (in this case, May’s), clear anything that’s still sitting on it and amend the dry wipe label, all ready for August’s red tag items. And in September we’ll clear July’s. And so on…
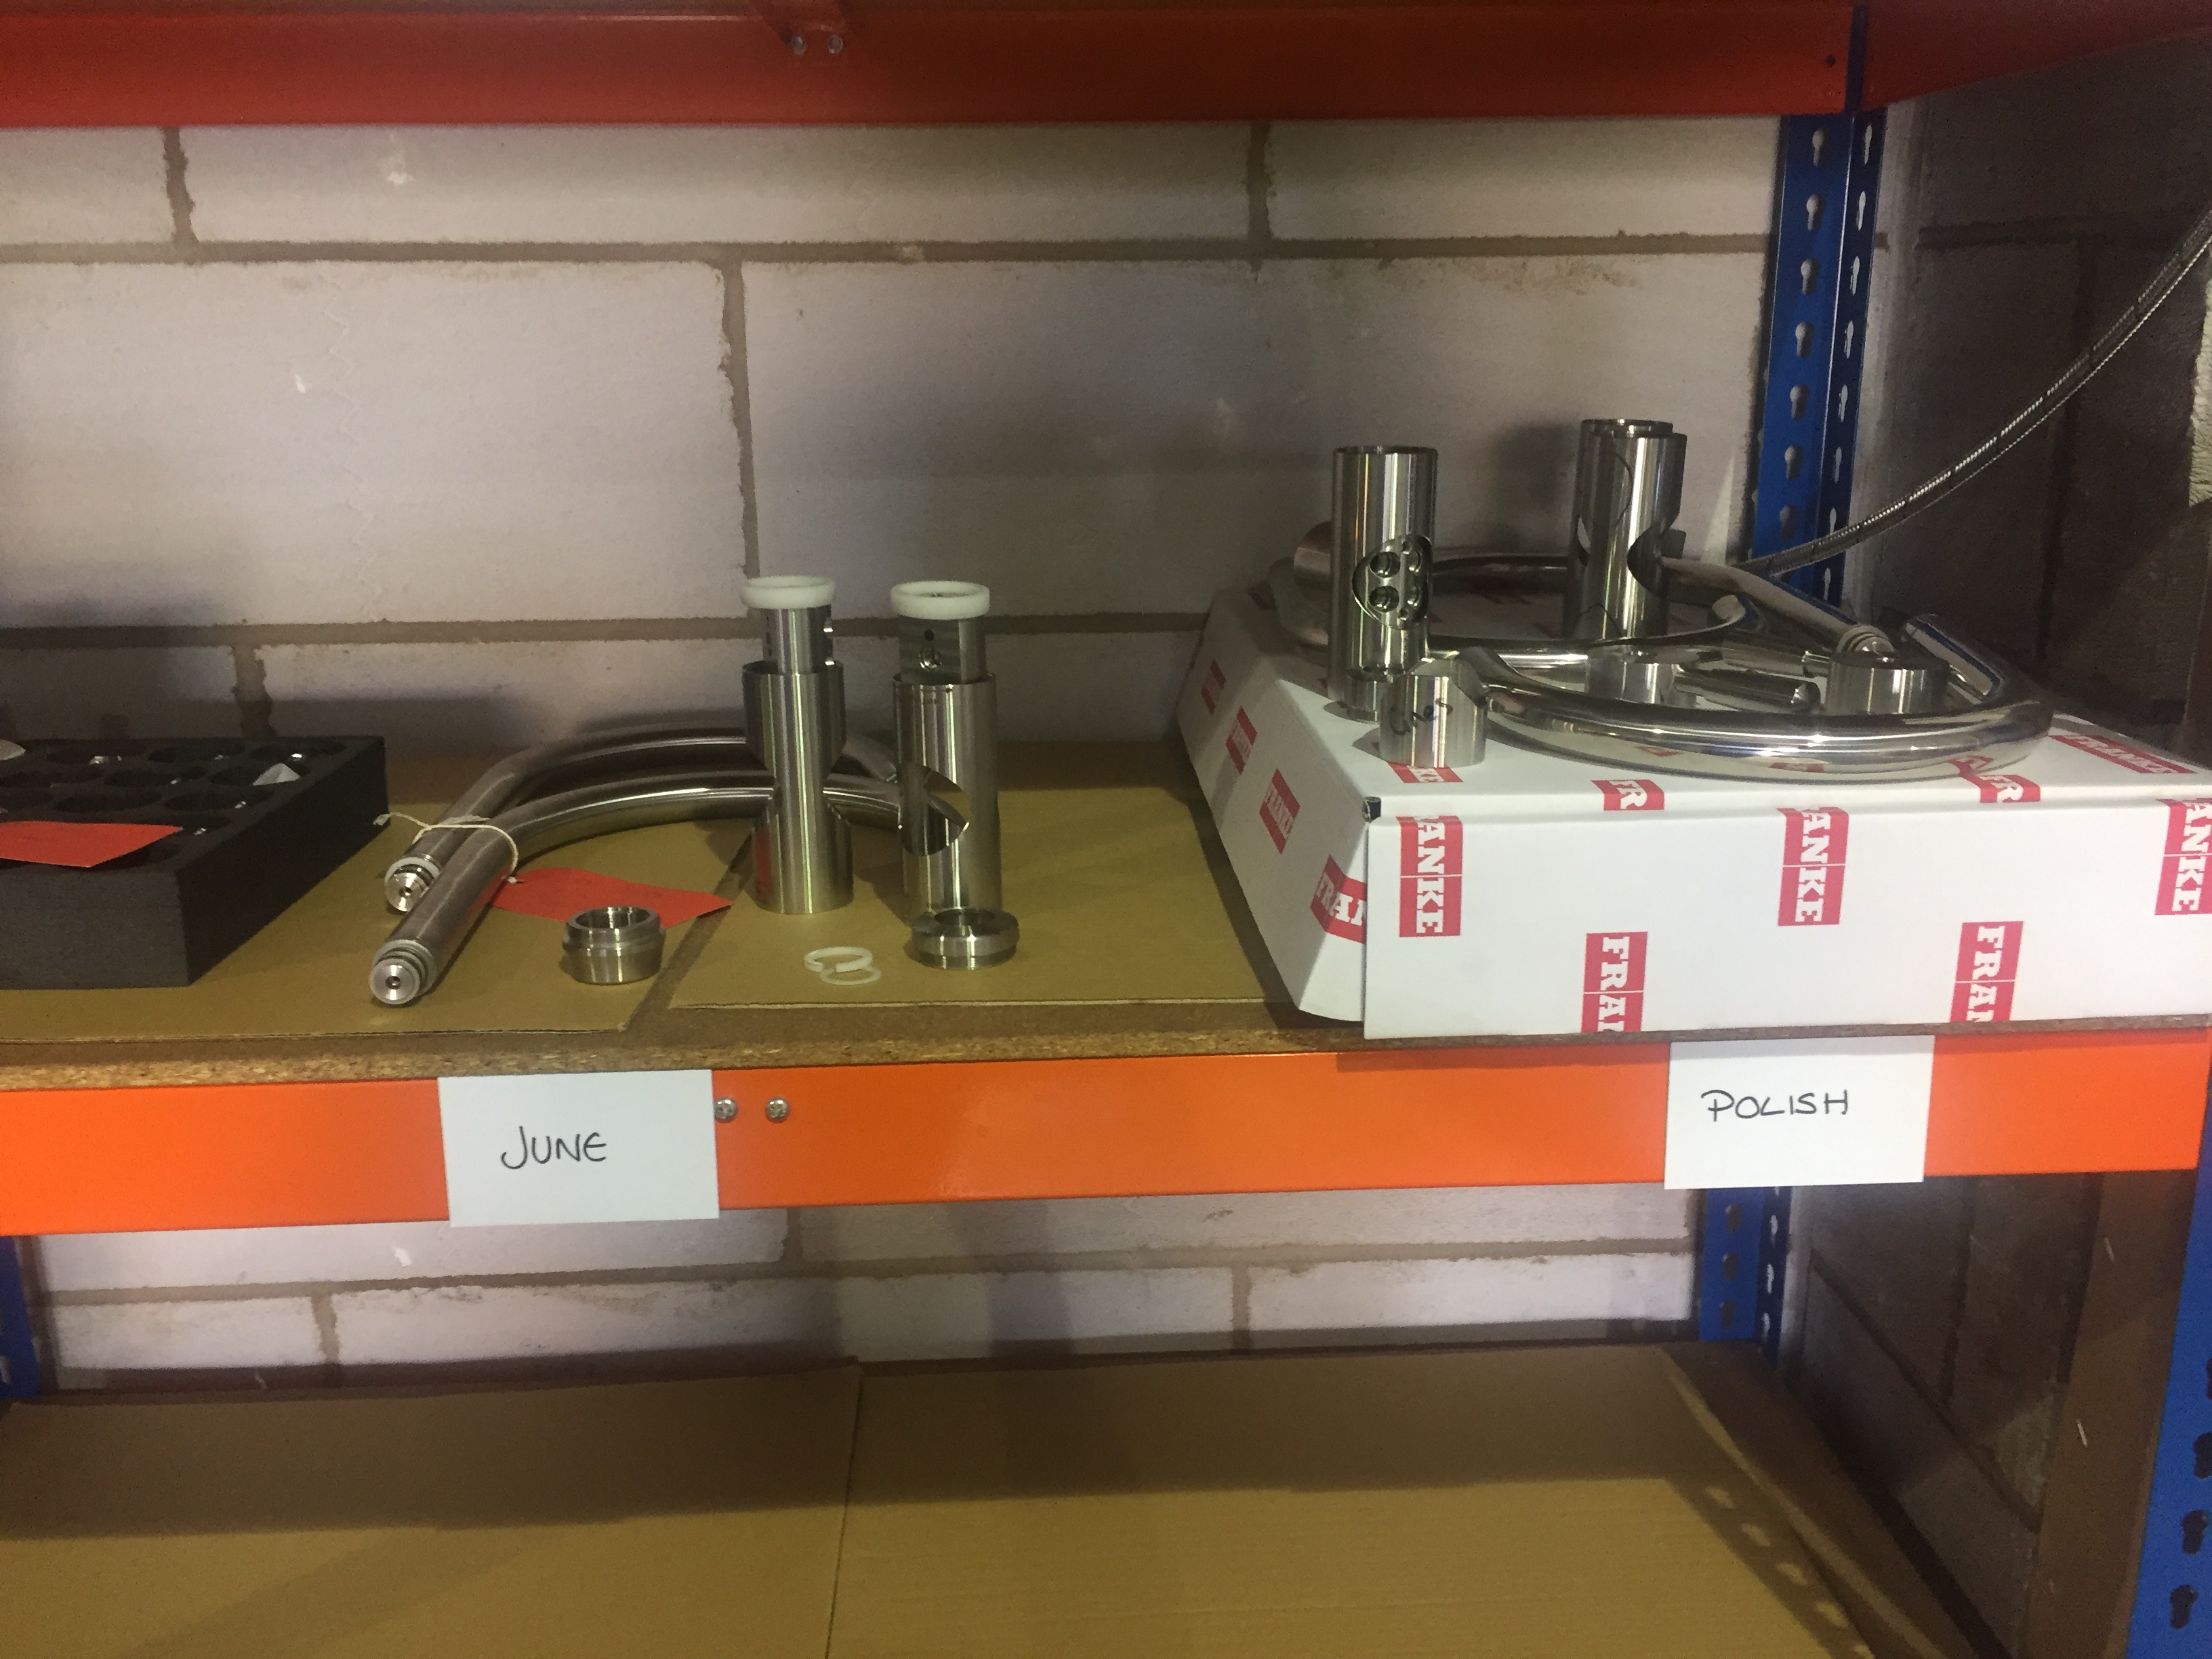
So no more sorting through individual parts checking for expiration dates. We can now clearly see how long parts have been sitting waiting to be looked at. And because we need the shelf space for the upcoming month, it will force us to make a decision over these items and we won’t leave them sitting there longer than the agreed three months. We even have a designated section on each shelf for parts we know just need a quick touch up on the polisher, right next to the polisher! Now that’s definitely more Lean!
Happy Manufacturing!
Rob, Nicola and the Team